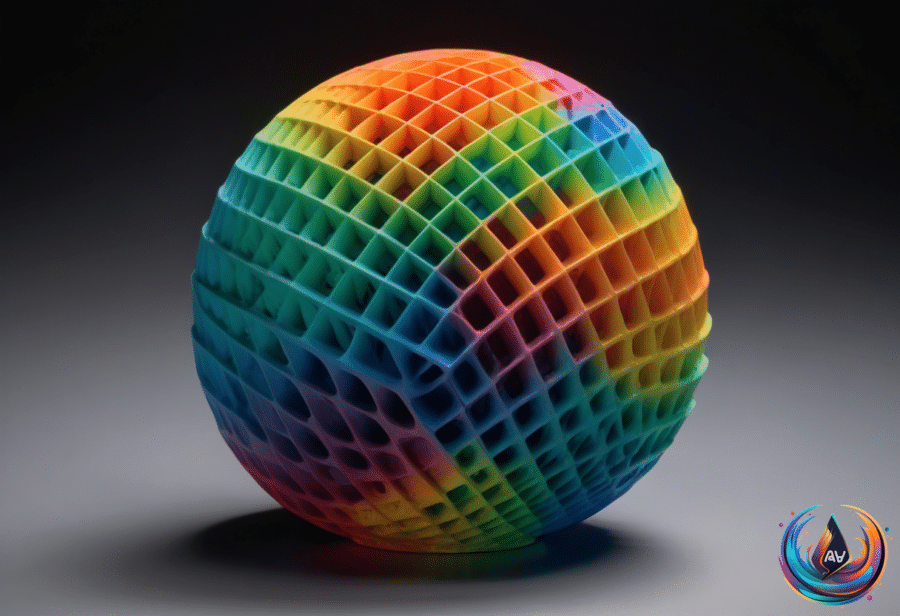
Look inside a filament-based 3D print and you may find a hidden structure doing the hard work. This internal framework, called infill, supports the upper layers, adds rigidity, and shapes how much material, weight, and printing time a model demands.
But is infill necessary for every print? No single setting answers that question. The right choice depends on the model, its walls, its orientation, its material, and the strength it needs, while some designs can print with an empty interior.
What Infill Does Inside a 3D Print
Infill is the internal structure generated by the slicer in a 3D printing model. The slicer turns a model into instructions for the printer, including the internal pattern placed between the outer walls and surfaces. That structure supports layers above it and gives the finished object rigidity.
Infill density appears as a percentage. At 0 percent, the interior is hollow, while higher percentages create a denser internal structure. More density means the printer places more filament inside the model, which increases filament use, weight, and printing time.
Most beginners using filament printers will adjust infill settings without noticing how much those choices change a print. A small change can alter the time required, the material consumed, and the strength of the finished object.
Still, the percentage does not act as a magic strength indicator. Wall thickness, print orientation, and material also affect strength, so a denser interior does not tell the whole story.
How Much Infill Should You Use?
Most models can be printed with 10 to 15 percent infill. Flashforge recommends 20 percent as a starting point for general use, giving beginners a clear setting to try before they adjust a model for a specific purpose.
For normal models, infill over 30 percent is hardly ever needed. Raising the number beyond that point uses more filament and adds weight and printing time, but the extra material does not automatically deliver a matching increase in strength.
Some models can avoid internal infill altogether. A model with a closed bottom can print with an empty interior if its shape gradually closes toward the top. That design can reduce material use and printing time, but the model still needs a structure that allows its upper surfaces to print.
The infill pattern controls how the internal structure spreads through the model. Available options include grid, cubic, gyroid, and lightning infill, with each pattern balancing support, reinforcement, material use, and print time in a different way.
- Grid infill creates a structured internal layout for supporting layers.
- Cubic infill builds a three-dimensional internal pattern.
- Gyroid infill provides another internal structure option for the model.
- Lightning infill branches toward areas where upper surfaces need support, reducing filament use and printing time while offering less reinforcement.
Lightning infill stands apart because it does not fill the model with a broad, dense framework. Instead, it sends branches toward the places that need support above, making it useful when lower material use and shorter printing time matter more than reinforcement.
Why Printer Type Changes the Decision
FDM printers build objects through layers of thermoplastic filament fused together. The process starts with CAD files, then places melted filament layer by layer on the build plate. Materials compatible with FDM printers include PLA, PETG, ABS, TPU, nylon, wood, metal filaments, HDPE, and PETT.
FDM printing is quick for small prints, which makes the technology popular for prototyping. Its filaments also cost less, making FDM printing inexpensive. Good beginner FDM printers are affordable, reliable, and low maintenance, giving new users a practical way to explore infill settings.
FDM still has limits. Models have low resolution and struggle with small, intricate parts, while warping can occur when filament cools unevenly. FDM prints can also break under pressure because of their horizontal layer laydown and infill techniques, so density alone cannot solve every strength problem.
Higher-end FDM printers from Prusa Research, Bambu Lab, or Ultimaker are recommended for creating sturdy, precise structures. The printer, material, walls, orientation, and infill all work together, making the full print setup more important than one percentage.
Resin printers follow a different path. They tend to create solid models unless the user intentionally hollows them out, so the infill question does not work the same way for resin printing. For higher precision, SLA and DLP printers use light to cure resin layers, producing models with fine details and smooth surfaces.
Other technologies serve specific applications as well, including SLS, MJF, direct metal laser sintering, and selective laser melting. Each approach brings its own method for building a model, so the internal structure depends on the printing technology in use.
The Practical Starting Point
For a normal filament print, start with 10 to 15 percent infill, or use 20 percent as a general starting point. Then consider whether the model needs more support, more rigidity, less weight, or shorter printing time before raising the setting.
Infill is necessary when the model needs internal support or reinforcement, but an empty interior can work when the shape closes toward the top and its walls provide the needed structure. The smartest choice is not the highest percentage. It is the setting that matches the model’s design, material, orientation, and purpose.
Based on