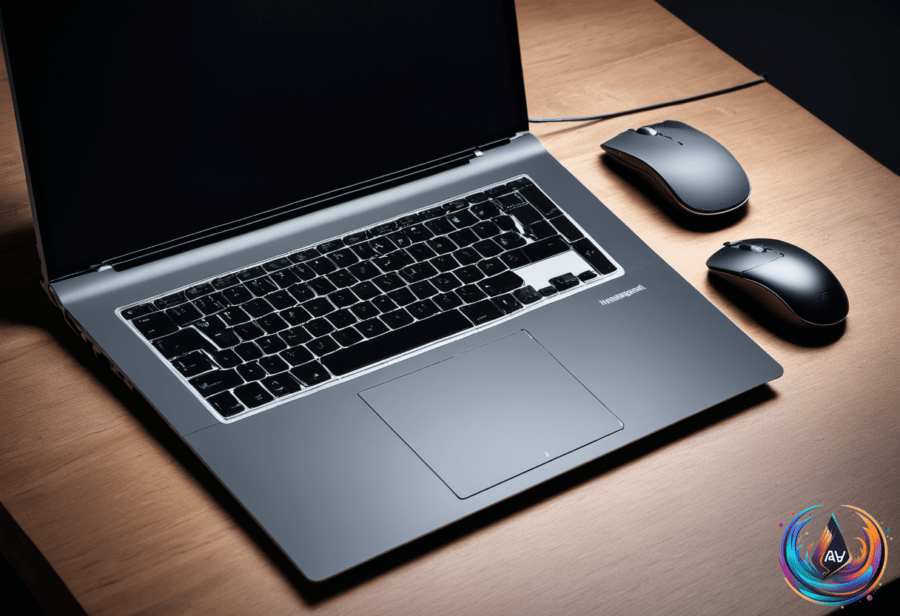
Right-clicking on a MacBook gives you access to actions connected to the item you select. That can include using a secondary click on the trackpad or mouse, and the process does not require a separate right-click button on the MacBook itself.
There are several ways to perform a right-click on a MacBook. You can hold down the Control key while clicking, tap the trackpad with two fingers, or press the front-right corner on a Magic Mouse. These options cover both trackpad and mouse use, so you can choose the method that feels most natural.
How to Change Right-Click Settings
MacBook right-click controls can be changed in System Settings. Open the settings for either Mouse or Trackpad, depending on the device you use, and look for the secondary click options.
For a mouse, secondary click can be set to activate when you click on the left side or the right side. This gives you a choice about where the click should happen. If you use the trackpad, you can choose a specific gesture, including a two-finger tap.
These settings let you change the way a secondary click works without changing the available action itself. If one method feels uncomfortable, open System Settings and select another option under Mouse or Trackpad.
Right-clicking is something most computer users do several times a day.
When a right-click does not work as expected, checking these settings can help identify whether the selected mouse or trackpad option matches the way you are trying to click. You can also use the Control key and click as another way to perform the action.
How to Open Apple Diagnostics
Apple Diagnostics is a separate tool for checking internal hardware. Before opening it, you need to know whether the MacBook uses Apple silicon or Intel. You can determine that by checking About This Mac.
The steps depend on which type of MacBook you have. On an Apple silicon Mac, press and hold the power button until the startup options appear. Then hold Command (⌘) and D to access Apple Diagnostics.
On an Intel Mac, turn on the Mac and immediately hold D. You can also hold Option (⌥) and D to start diagnostics over the internet. These two startup methods provide the route to Apple Diagnostics on Intel Macs.
The hardware check can identify faults in internal components. Apple Diagnostics can test memory, batteries, cameras, keyboards, trackpads, storage, displays, and wireless hardware.
What the Diagnostic Results Mean
Apple Diagnostics does not test external hardware or software issues. That limit matters when you read the result, because a clean hardware check does not cover every possible problem with a MacBook.
If the test shows the reference code ADP000, Apple Diagnostics found no hardware issues. That result points away from the internal components included in the test, but it does not test external hardware or software.
If Apple Diagnostics finds a hardware issue, it provides specific codes. Those codes can be looked up for further troubleshooting, giving you more detail about the component that may need attention.
Apple Diagnostics can narrow that down by testing hardware inside the Mac.
If no hardware issues are identified, software troubleshooting or macOS Recovery may be the next steps. The right-click settings and the diagnostic menu serve different purposes, but both are built into the MacBook experience: one changes how you interact with the computer, while the other checks internal hardware.
Based on