A better surround sound setup may not require new equipment. Small changes to speaker angles, furniture placement, rugs, and audio settings can improve what you hear from a home theater system.
The room itself plays a major part. Walls, floors, windows, ceilings, and other hard surfaces reflect sound waves, creating muddied audio and echo. Anthony Grimani, President of Performance Media Industries, explains the problem clearly: “More than half of what you hear in a regular room is sound bouncing off hard surfaces like ceilings, walls and hard flooring.”
That means a speaker can perform well while the room makes the sound less clear. Moving furniture, adding rugs, and using curtains, artworks, or framed photos can change how sound moves through the space. Grimani says, “The fix to this problem isn’t buying foam panels that would require a whole overhaul of your living room. Instead, you can improve this with rugs, curtains, artworks and framed photos.”
Start With Speaker Placement
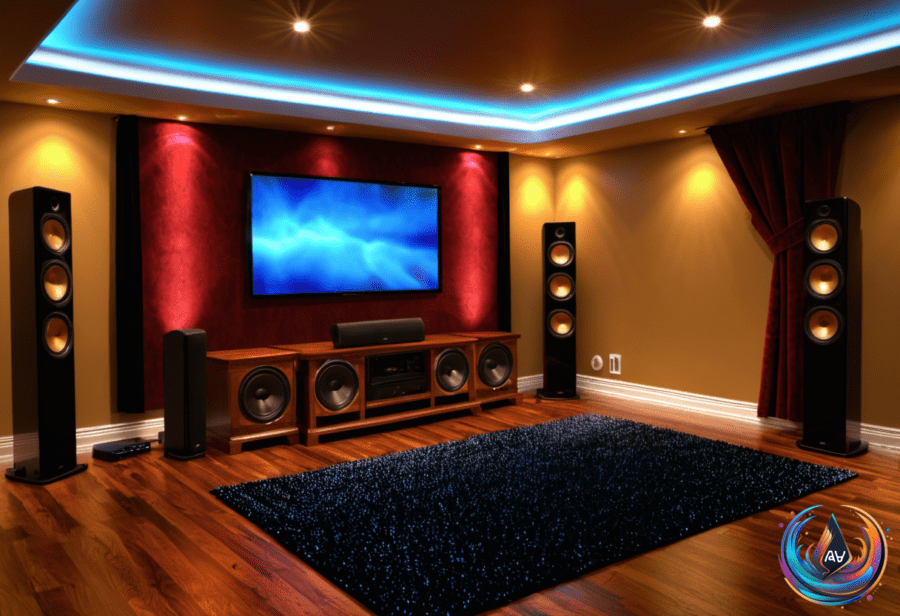
Front speaker placement is a useful first step. Place the front left and right speakers about a foot from the side and back walls, then aim them toward the main seat. This position helps point the sound toward the place where it will be heard.
The center channel speaker belongs above or below the TV, aligned with the screen’s midpoint and placed at ear level. The center speaker carries a key position in the front soundstage, so its height and alignment matter when setting up the system.
For a 5.1 system, place the speakers to the sides of the seating area and aim them toward the main seat. They should sit at or slightly above ear level. With a 7.1 system, the back speakers belong behind the seating position.
Subwoofer placement takes more testing because low-frequency sound behaves differently from sound from the other speakers. Try the subwoofer in different spots and compare the sound quality from the main seat. Subwoofers are omnidirectional, but a ported subwoofer should not be boxed in or glued to a wall.
These changes do not require a full room overhaul. Adjusting speaker angles, moving furniture, and adding rugs can address parts of the room’s sound behavior before any new equipment enters the picture.
Use Calibration and Check Netflix Audio
Calibration can bring the system’s settings into line with the room and speaker positions. Modern AV receivers can calibrate an audio system automatically. A manual option uses a sound level meter app, giving another way to set the system.
Netflix audio problems can have a different cause: a mismatch between the audio format Netflix sends and the speakers that play it. Netflix defaults to the highest-quality audio supported by connected devices, including 5.1 or Dolby Atmos. Problems can follow when the equipment cannot handle surround sound properly.
If Netflix sounds muffled or quiet, check the selected audio track first. Switching from a surround option such as English [Original] 5.1 to the standard English [Original] track can resolve the issue. Netflix remembers the preference moving forward, so making this change once can fix potential issues in later playback too.
Hardware connections can also affect Netflix sound. Loose or damaged HDMI cables, outdated firmware, and misconfigured external sound systems can all cause muffled or quiet audio. Using a different HDMI cable or bypassing external audio devices can help diagnose the problem.
Playback quality settings offer another adjustment. Raising Netflix playback quality to High in account settings can improve the audio bitrate, reaching up to 640 kbps for 5.1 audio and 768 kbps for Atmos audio.
High-fidelity spatial audio and Dolby Atmos require the Netflix Premium tier. That requirement is separate from speaker placement, room acoustics, and calibration, but all three parts affect the final listening experience: the room, the equipment setup, and the audio format.
Based on